


Beginner Guide
Getting Started with Basic Sketching Techniques
Master the fundamentals of line work, shading, and proportion. These core skills form the foundation for every drawing you'll create.
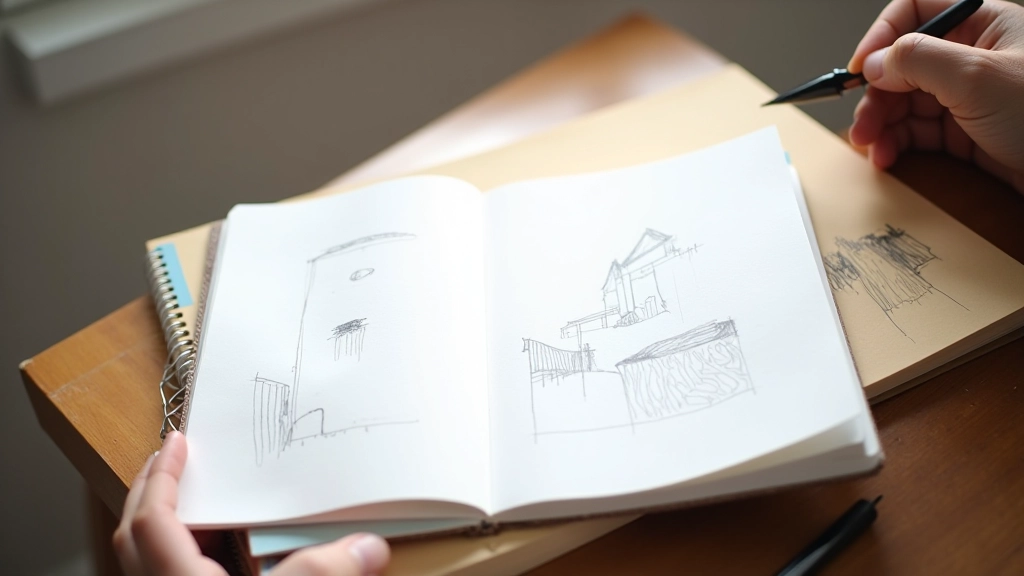
Why Start with the Basics?
Everyone starts somewhere. You might think you need natural talent to draw, but that's just not true. What you really need is patience and a solid understanding of how lines, shapes, and light work together. We've trained hundreds of beginners here in Latvia, and honestly, the ones who improve fastest aren't the "naturally gifted" ones. They're the ones who actually practice the fundamentals.
The difference between a sketch that looks flat and one that has depth, dimension, and life comes down to three things: understanding proportion, controlling your lines, and mastering shading. That's it. Master these, and everything else clicks into place.

Understanding Line Quality and Control
Your pencil is like a voice. It can be confident and bold, or hesitant and shaky. When you're starting out, most sketches look uncertain because your hand isn't used to the movement yet. That's completely normal. Don't fight it.
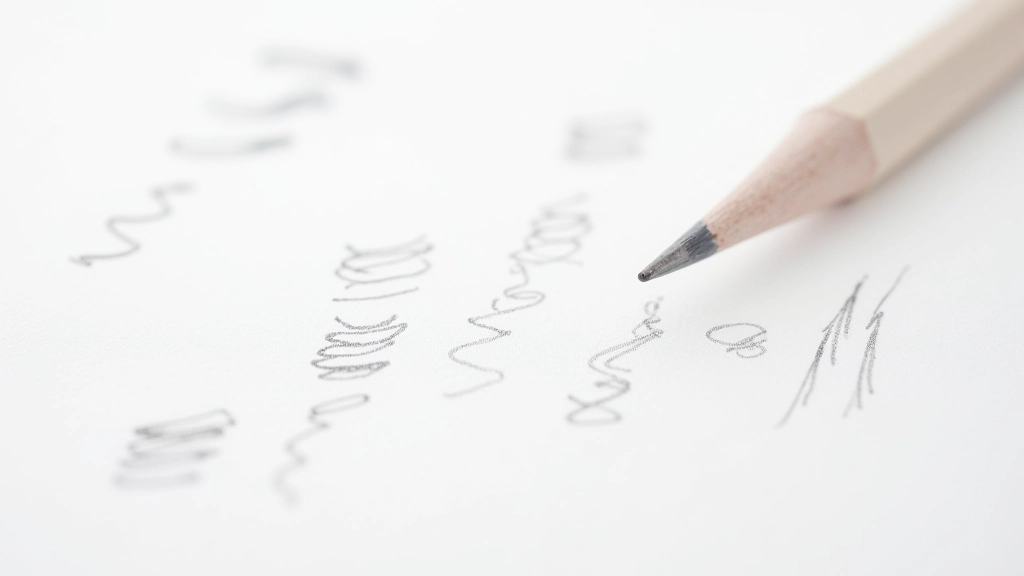
The key is understanding what each type of line does. A light, feathery line suggests softness or distance. A darker, more deliberate line creates emphasis and brings something forward. A broken, sketchy line shows movement or uncertainty. Start by spending 15-20 minutes just making different lines — long ones, short ones, curved ones, straight ones. Feel how pressure and speed change the mark you make.
Pro tip: Hold your pencil lightly at first. A death grip makes shaky lines. You'll develop control naturally as you practice, usually within 3-4 weeks of regular sketching.
Building Proportion and Basic Shapes
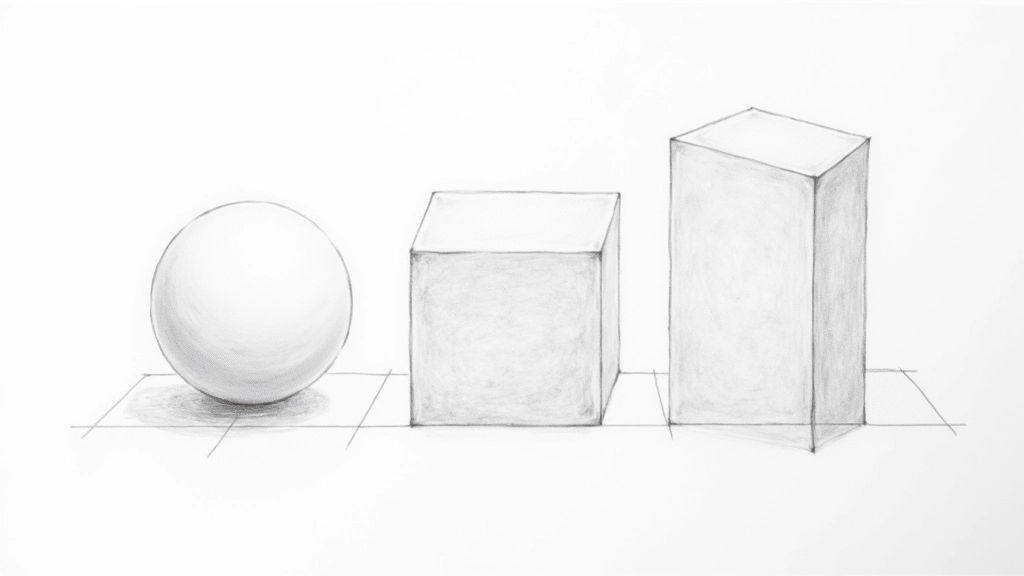
Here's something that changed how I teach: everything is a shape. An apple is a sphere. A head is an oval. A house is rectangles and triangles. Once you see things this way, drawing becomes much less intimidating. You're not drawing a complicated portrait — you're drawing circles and ovals arranged in a specific way.
Start with the simplest shapes: sphere, cube, cylinder. Draw them repeatedly. Get comfortable with how they sit on a page, how light hits them, how shadows fall. Then combine them. A person's head is an oval, a neck is a cylinder, shoulders are boxes. This is called blocking in, and it's the secret weapon of every professional artist.
- Sphere: Use for heads, fruit, and round forms
- Cube: Foundation for buildings, hands, and structure
- Cylinder: Limbs, trees, and cylindrical objects
- Cone: Mountains, hats, and tapered shapes
Mastering Light and Shadow
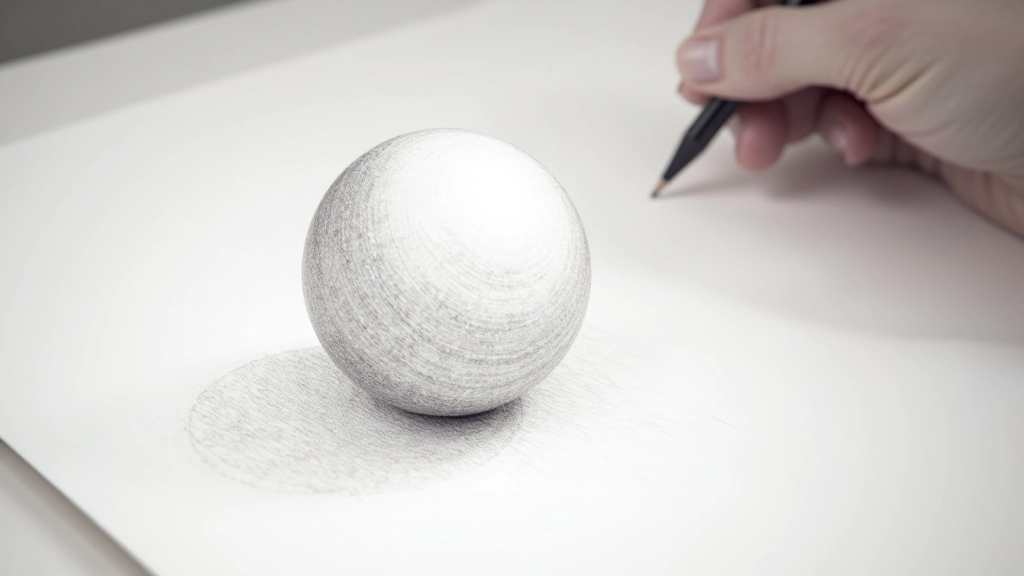
This is where drawings go from looking flat to looking real. Shading isn't about making things dark — it's about understanding how light behaves. When light hits an object, it creates highlights, mid-tones, and shadows. You're not trying to copy exactly what you see. You're creating the illusion of three dimensions on a flat page.
Start simple: pick an object with clear light and shadow — an apple, a mug, a ball. Identify where the light comes from. Where's the brightest part? Where's the shadow? What's in between? Don't shade gradually at first. Use clear zones: light area, shadow area, reflected light. Once you understand the zones, you can blend them smoothly. We recommend spending about 30 minutes on each practice object. You'll see improvement quickly.
1
Identify light source: Where's the light coming from?
2
Map zones: Light, mid-tone, shadow, reflected light
3
Build value: Layer shading from light to dark
4
Refine edges: Soften transitions where needed
A Note About Learning Pace
Everyone learns at their own pace, and that's perfectly fine. These techniques aren't rules you must follow — they're tools you can use. Some people grasp shading immediately. Others need weeks of practice. Neither path is wrong. The important thing is consistent practice. Fifteen minutes of sketching every day beats three hours once a month. Your hand and eye need regular training to develop the connection that makes drawing feel natural.
Start Today, Keep Going
You don't need expensive supplies or a fancy studio. A pencil, some paper, and 15 minutes is enough. Start with basic shapes. Practice lines. Shade a few objects. That's it. Within a month of regular practice, you'll notice real changes. Your lines will be more confident. Your proportions will improve. Your shading will have depth.
The hardest part is starting. The second hardest part is staying consistent. Everything else comes naturally once you commit to the practice. You've got this.
Ready to develop your skills further? Explore more techniques.
Explore Watercolor TechniquesContinue Your Learning